
AWS KMS use case with Serverless Application Model (SAM): An end to end solution

The Basics
AWS KMS is a Key Management Service that let you create Cryptographic keys that you can use to encrypt and decrypt data and also other keys. You can read more about it here.
Important points about Keys
Please note that the CMK generated can only be used to encrypt small amount of data like passwords, RSA key. You can use AWS KMS customer master keys (CMKs) to generate, encrypt, and decrypt data keys. However, AWS KMS does not store, manage, or track your data keys, or perform cryptographic operations with data keys. You must use and manage data keys outside of AWS KMS. KMS API uses AWS KMS customer master key (CMK) in the encryption operations and they cannot accept more than 4 KB (4096 bytes) of data. To encrypt application data, use the server-side encryption features of an AWS service, or a client-side encryption library, such as the AWS Encryption SDK or the Amazon S3 encryption client.
Scenario
We want to create signup and login forms for a website.Passwords should be encrypted and stored in dynamobDB database.
What do we need?
- KMS key to encrypt and decrypt data
- DynamoDB table to store password.
- Lamdba functions & APIs to process Login and Sign up forms. 4.Sign up/ Login forms in HTML
Lets Implement it as Serverless Appication Model (SAM)!
Lets first create the Key that we will use to encrypt and decrypt password.
KmsKey:
    Type: AWS::KMS::Key
    Properties:
      Description: CMK for encrypting and decrypting
      KeyPolicy:
        Version: '2012-10-17'
        Id: key-default-1
        Statement:
        - Sid: Enable IAM User Permissions
          Effect: Allow
          Principal:
            AWS: !Sub arn:aws:iam::${AWS::AccountId}:root
          Action: kms:*
          Resource: '*'
        - Sid: Allow administration of the key
          Effect: Allow
          Principal:
            AWS: !Sub arn:aws:iam::${AWS::AccountId}:user/${KeyAdmin}
          Action:
          - kms:Create*
          - kms:Describe*
          - kms:Enable*
          - kms:List*
          - kms:Put*
          - kms:Update*
          - kms:Revoke*
          - kms:Disable*
          - kms:Get*
          - kms:Delete*
          - kms:ScheduleKeyDeletion
          - kms:CancelKeyDeletion
          Resource: '*'
        - Sid: Allow use of the key
          Effect: Allow
          Principal:
            AWS: !Sub arn:aws:iam::${AWS::AccountId}:user/${KeyUser}
          Action:
          - kms:DescribeKey
          - kms:Encrypt
          - kms:Decrypt
          - kms:ReEncrypt*
          - kms:GenerateDataKey
          - kms:GenerateDataKeyWithoutPlaintext
          Resource: '*'
The important thing in above snippet is the KeyPolicy. KMS requires a Key Administrator and Key User. As a best practice your Key Administrator and Key User should be 2 separate user in your Organisation. We are allowing all permissions to the root users. So if your key Administrator leaves the organisation, the root user will be able to delete this key. As you can see KeyAdmin can manage the key but not use it and KeyUser can only use the key. ${KeyAdmin} and ${KeyUser} are parameters in the SAM template. You would be asked to provide values for these parameters during SAM Deploy.
Parameters:
  KeyAdmin:
    Type: String
  KeyUser:
    Type: String
 Next, we will create DynamoDB table. The partition key will be user id. This is enough. You can additional attributes as required.
myDynamoDBTable:
    Type: AWS::DynamoDB::Table
    Properties:
      BillingMode: PAY_PER_REQUEST
      AttributeDefinitions:
        -
          AttributeName: "userid"
          AttributeType: "S"

      KeySchema:
        -
          AttributeName: "userid"
          KeyType: "HASH"
Now, lets create the API and Lamdba handler that will process the Signup and Login requests.
ApiGatewaySignupApi:
    Type: AWS::Serverless::Api
    Properties:
      StageName: Prod
    Auth:
     UsagePlan:
      CreateUsagePlan: PER_API
      Description: Usage plan for this API
      Quota:
       Limit: 500
       Period: MONTH
      Throttle:
       BurstLimit: 100
       RateLimit: 50
  SignupFunction:
    Type: AWS::Serverless::Function
    Properties:
      Environment:
        Variables:
          userTable: !Ref myDynamoDBTable
          keyid: !Ref KmsKey
      CodeUri: Lambda/
      Handler: signup.lambda_handler
      Runtime: python3.8
      Policies:
       - DynamoDBCrudPolicy:
          TableName: !Ref myDynamoDBTable
       - KMSEncryptPolicy:
          KeyId: !Ref KmsKey
       - KMSDecryptPolicy:
          KeyId: !Ref KmsKey
      Events:
        getCounter:
          Type: Api
          Properties:
            Path: /signup
            Method: POST
            RestApiId: !Ref ApiGatewaySignupApi
  ApiGatewayLoginApi:
    Type: AWS::Serverless::Api
    Properties:
      StageName: Prod
    Auth:
     UsagePlan:
      CreateUsagePlan: PER_API
      Description: Usage plan for this API
      Quota:
       Limit: 500
       Period: MONTH
      Throttle:
       BurstLimit: 100
       RateLimit: 50
  LoginFunction:
    Type: AWS::Serverless::Function
    Properties:
      Environment:
        Variables:
          userTable: !Ref myDynamoDBTable
          keyid: !Ref KmsKey
      CodeUri: Lambda/
      Handler: login.lambda_handler
      Runtime: python3.8
      Policies:
        - DynamoDBCrudPolicy:
            TableName: !Ref myDynamoDBTable
        - KMSEncryptPolicy:
            KeyId: !Ref KmsKey
        - KMSDecryptPolicy:
            KeyId: !Ref KmsKey
      Events:
        getCounter:
          Type: Api
          Properties:
            Path: /login
            Method: POST
            RestApiId: !Ref ApiGatewayLoginApi
Here, we are creating 2 Lamdba handlers, one that handles singup and other handles the login. We are limiting the usage of API under Auth property. This is to prevent abuse of our API. We are setting two environment variables, one for database table name and another for KMS key name. We are not hard-coding the table/key names instead we let cloud formation to name it and we set it as environment variables with auto generated values. This will prevent name conflicts of resources and you can run multiple versions of your whole cloud environment. Then we set policy that allow Lamdba to access dynamoDB and the key. You can find 'out of box' SAM policy templates here.With Events, we create the API Gateway resources. The final part of SAM template is Output section.
Outputs:
  ApiGatewaySignupApi:
    Description: "API Gateway endpoint URL for Prod stage for Hello World function"
    Value: !Sub "https://${ApiGatewaySignupApi}.execute-api.${AWS::Region}.amazonaws.com/Prod/signup/"
  SignupFunction:
    Description: "Sign Up Lambda Function ARN"
    Value: !GetAtt SignupFunction.Arn
  ApiGatewayLoginApi:
    Description: "API Gateway endpoint URL for Prod stage for Hello World function"
    Value: !Sub "https://${ApiGatewayLoginApi}.execute-api.${AWS::Region}.amazonaws.com/Prod/login/"
  LoginFunction:
    Description: "Login Lambda Function ARN"
    Value: !GetAtt LoginFunction.Arn
We output 2 important urls in above section, ApiGatewayLoginApi and ApiGatewaySignupApi, We use these Urls in the frontend HTML form's action attribute. See below:
<html>
   <head></head>
   <body>
      <h1>Sign Up</h1>
      <form action="https://51v5ifsje1.execute-api.us-east-2.amazonaws.com/Prod/signup/" enctype="application/x-www-form-urlencoded" method="POST">
         <label>Username:</label><input type="text" name="uname" id="uname"> </input><br><br>
         <label>Password:</label><input type="password" name="password" id="password"> </input><br><br>
         <input type="submit"></input>
      </form>
   </body>
</html>
<html>
  <head></head>
  <body>
    <h1>Login</h1>
    <form action="https://4ezqeugqlf.execute-api.us-east-2.amazonaws.com/Prod/login/" enctype="application/x-www-form-urlencoded" method="POST">
      <label>username:</label><input type="text" name="uname" id="uname"> </input><br><br>
      <label>password:</label><input type="password" name="password" id="password"> </input><br><br>
      <input type="submit"></submit>
    </form>
  </body>
</html>
In HTML, we are using encoding type as "enctype="application/x-www-form-urlencoded". With this type of encoding, the form data is sent in below format
username=doryfish&password=nemo
The last piece in the puzzle is the Lamdba handlers. Lets check it out. Python uses Boto3 to access AWS.
import json
from urllib.parse import parse_qs
import urllib.parse
import boto3
import logging
import os
import base64

log = logging.getLogger()
log.setLevel(logging.INFO)

def lambda_handler(event, context):
    log.info(event)
    log.info(event.get("body"))
    qs = parse_qs(event.get("body"))
    log.info(qs)
    uname = qs.get("uname")[0]
    pwd = qs.get("password")[0]

    dynamodb = boto3.resource('dynamodb')
    table = dynamodb.Table(os.environ['userTable'])

    log.info('key id:'+os.environ['keyid'])
    key = os.environ['keyid']
    client = boto3.client('kms')
    #Encrypt password
    response = client.encrypt(
    Plaintext=pwd,
    KeyId=key
    )
    log.info(response['CiphertextBlob'])
    b64_pass = str(base64.b64encode(response['CiphertextBlob']),'utf-8')
    log.info(b64_pass)

    response = table.update_item(
        Key={
            'userid': uname
        },
        AttributeUpdates={
            'password': {
                'Value': b64_pass,
            }
            }
        )
    data = {}
    data['status'] = 'Signup Success'
    json_data = json.dumps(data)
    return {
        'statusCode': 200,
        'body': json_data
    }
The first two statements are logging statements, this is useful in debugging and the log statements will be logged in CloudWatch logs. The parse_qs module is used to read the form data from event object. Data are returned as a dictionary. The dictionary keys are the unique query variable names and the values are lists of values for each name. Hence, in next 2 statements, we get the first value for each of type - uname and password. We retrieve the DynamoDB table using the table name from environment variable - userTable. Environment variables in Lambda can be accessed using os.environ['key']. Now we got the username and password. Its time to encrypt the password and store it in DB. Password to encrypt is passed to Plaintext attribute of the encrypt request and key id is retrieved from environment variable. CiphertextBlob is the encrypted binary value in the response object. For example:
b'\x01\x02\x02\x00x\x9dN"\xa4\xf9\xfe\xb4\xc7&\x01\xdc\xb6J\xdf\xf1\xdc\xf2;)|7\x1b\'{8\xe6(\x80Q\xe5\x11\x8c\x010w"-\x11w\x10b\x9d\xd0w\xa7+\xd1\xa5\xc5\x00\x00\x00e0c\x06\t*\x86H\x86\xf7\r\x01\x07\x06\xa0V0T\x02\x01\x000O\x06\t*\x86H\x86\xf7\r\x01\x07\x010\x1e\x06\t`\x86H\x01e\x03\x04\x01.0\x11\x04\x0ca\xb4\xaa\x00\x10\xc0\xd1\xa6r\x07\xce\xc7\x02\x01\x10\x80"@\nL\xde<\x03s\xc6\xe0g\x80\xd4\x87\x8e\x1e\t\xa2\xac\x10\xfek\xb6\x1d\xf3\x87\x910\xabf\xd1d}x\xdb'
Now we convert this binary value to ASCII text using
str(base64.b64encode(response['CiphertextBlob']),'utf-8')
and the end result we store it in database.
AQICAHidTiKk+f60xyYB3LZK3/Hc8jspfDcbJ3s45iiAUeURjAEwdyItEXcQYp3Qd6cr0aXFAAAAZTBjBgkqhkiG9w0BBwagVjBUAgEAME8GCSqGSIb3DQEHATAeBglghkgBZQMEAS4wEQQMYbSqABDA0aZyB87HAgEQgCJACkzePANzxuBngNSHjh4JoqwQ/mu2HfOHkTCrZtFkfXjb
In Login Lamdba handler, username and password is retrieved from the request like we did in Sign Up.
import json
from urllib.parse import parse_qs
import urllib.parse
import boto3
import secrets
import logging
import os
import base64

log = logging.getLogger()
log.setLevel(logging.INFO)

def lambda_handler(event, context):

    log.info(event.get("body"))
    qs = parse_qs(event.get("body"))

    uname = qs.get("uname")[0]
    pwd = qs.get("password")[0]

    dynamodb = boto3.resource('dynamodb')

    table = dynamodb.Table(os.environ['userTable'])
    response = table.get_item(Key={'userid': uname})
    json_str =  json.dumps( response['Item'])

    #using json.loads will turn your data into a python dictionary
    resp_dict = json.loads(json_str)
    dbpass = resp_dict.get("password")

    #Decrypt password
    log.info('key id:'+os.environ['keyid'])
    key = os.environ['keyid']
    client = boto3.client('kms')

    response = client.decrypt(
    CiphertextBlob=(base64.b64decode(dbpass)),
    KeyId=key
    )
    log.info("Decrypted value")
    decryptedPass = response['Plaintext'].decode('UTF-8')

    response = {}

    if decryptedPass == pwd :
      response['status'] = 'Login Success'
      return {
        'statusCode': 200,
        'body': json.dumps(response)
      }
    else:
     response['status'] = 'Login Failed'
     return {
        'statusCode': 200,
        'body': json.dumps(response)
      }
In decrypt request, the encrypted password string from database is converted into binary using base64.b64decode(dbpass) and passed to the CiphertextBlob attribute. Decrypted password is returned as bytes in Plaintext attribute of response. The password is encoded in UTF-8 to get the final decrypted password. The decrypted password is then compared with the password from the request and if it matches, 'Login Success' response is sent back.
Phew! Finally, we are done coding.. Lets test it out.
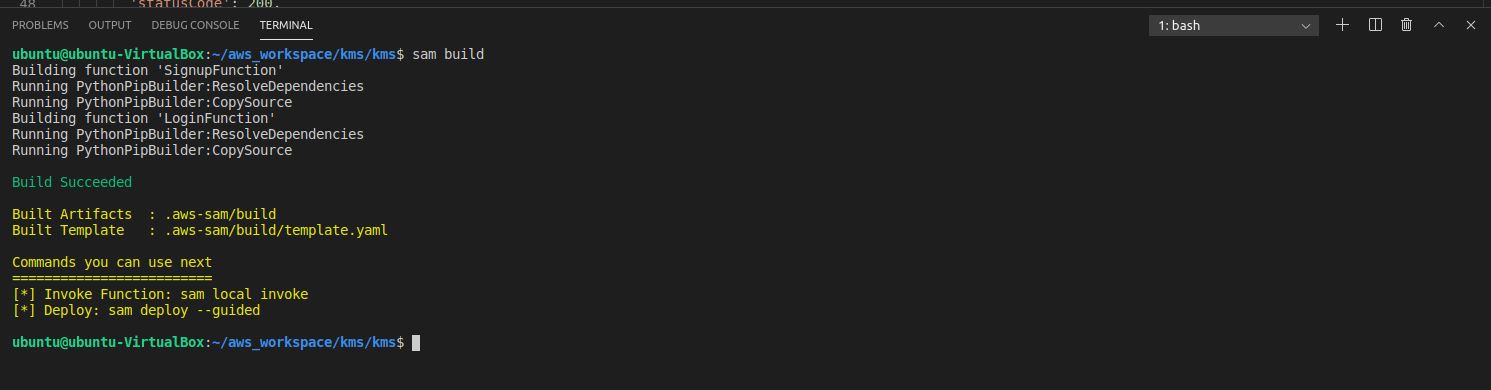
Lets do SAM build and Deploy.
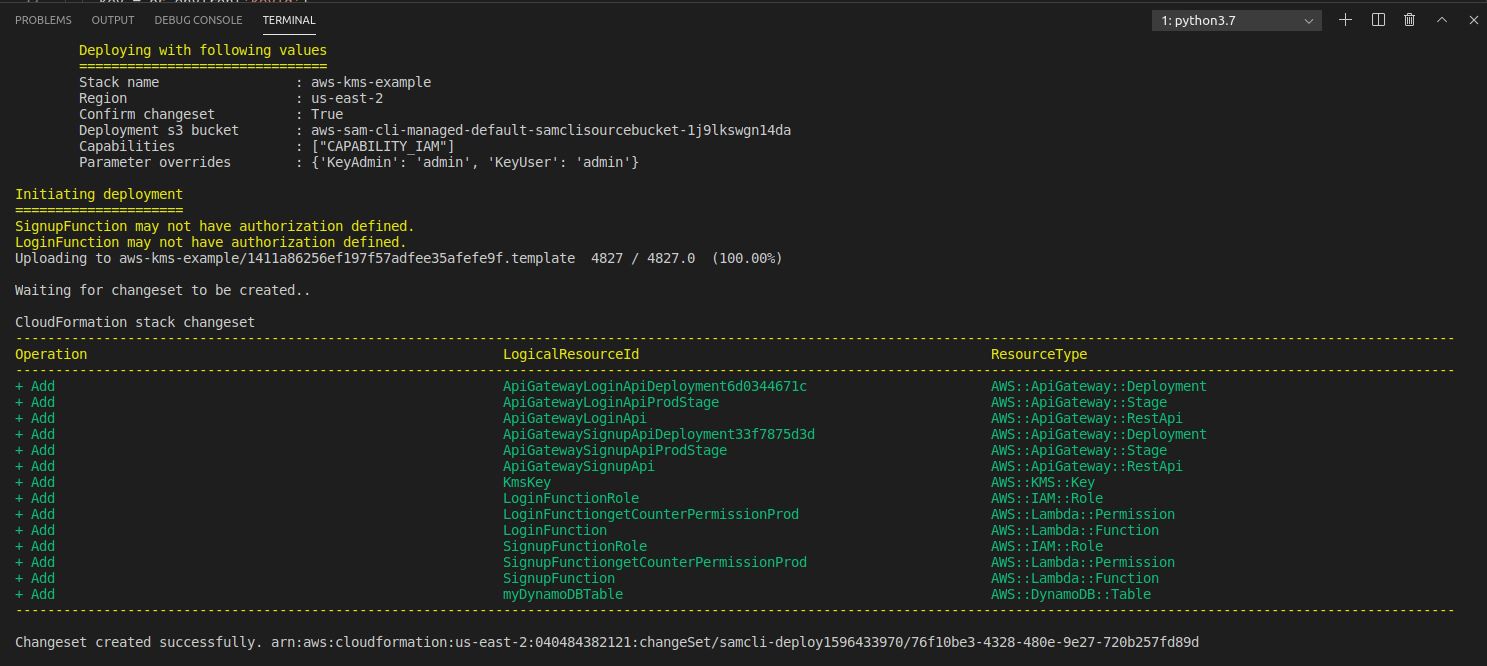 Stack creation complete!

Testing
Note that we are not deploying HTML forms as static site on S3 but we will locally open the forms in browser and hit the APIs.
Add username/password, hit submit.
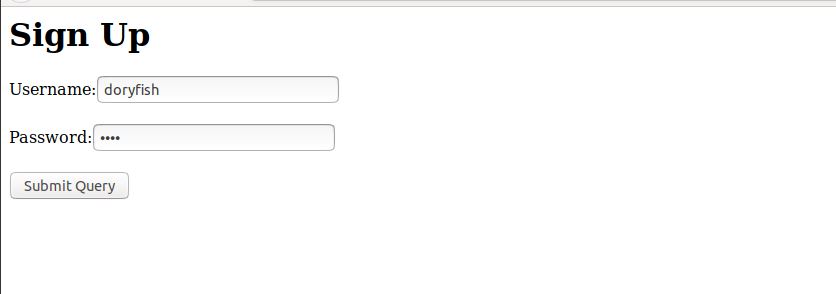
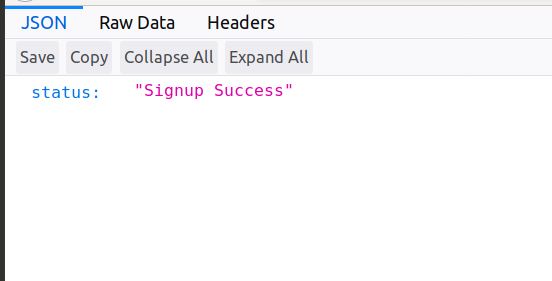
Sign Up is Successful!
Item in database. Password is encrypted
 Now, Login using the same username and password
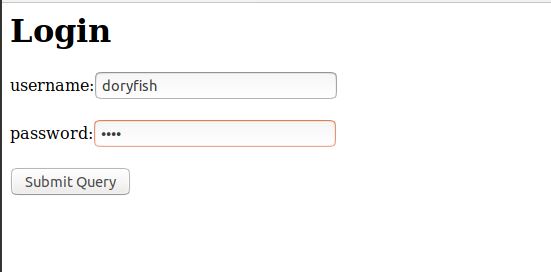
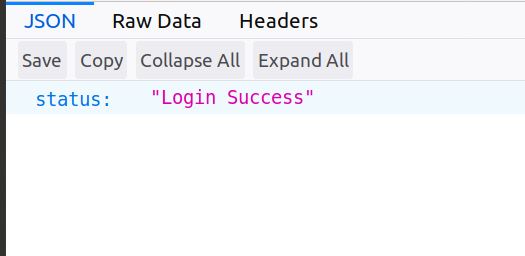
Login Sucess!
Source Code:
In next post, we will extend this example to use AWS STS!


